Getting the Most Out of Your UV Curing
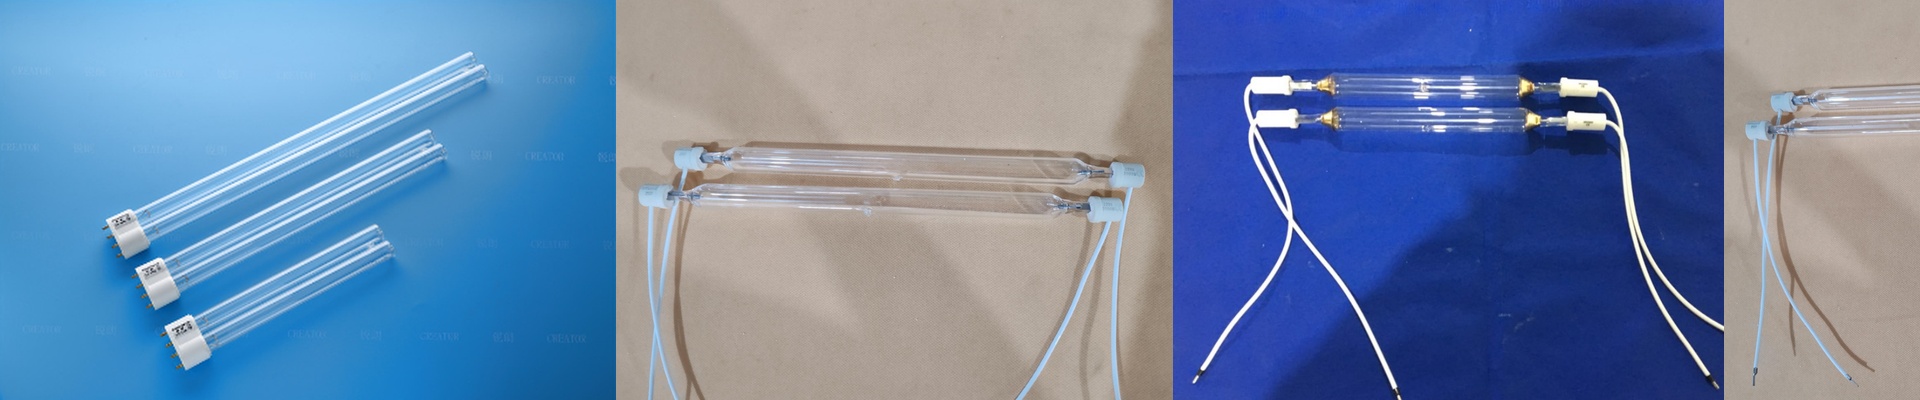
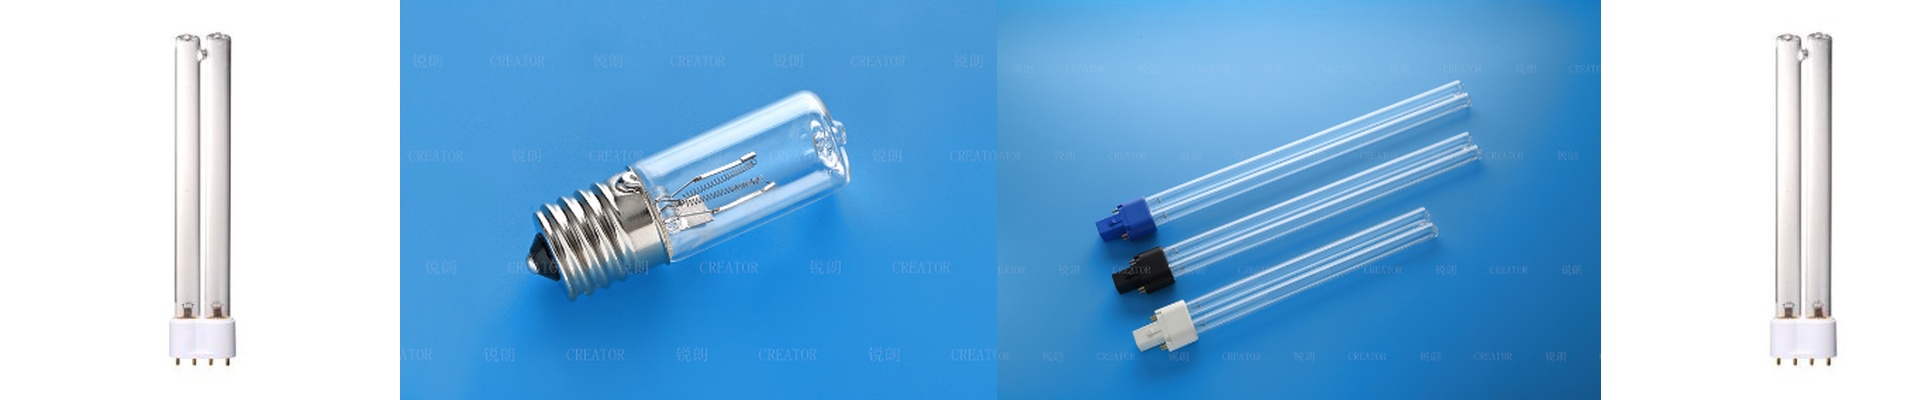
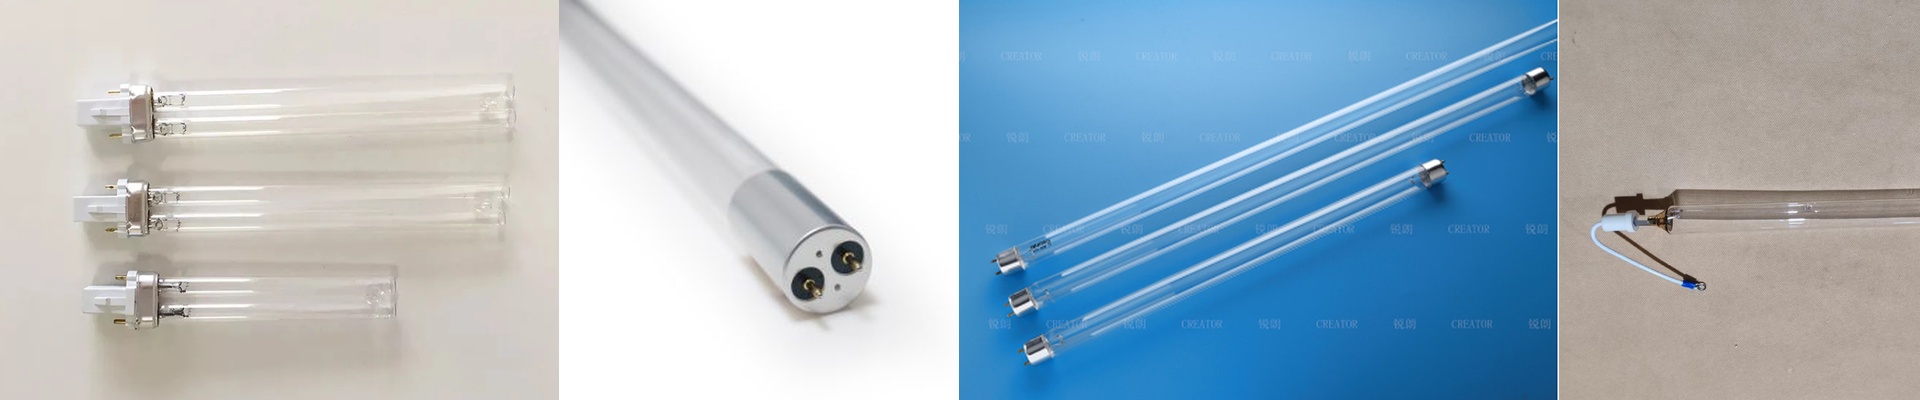
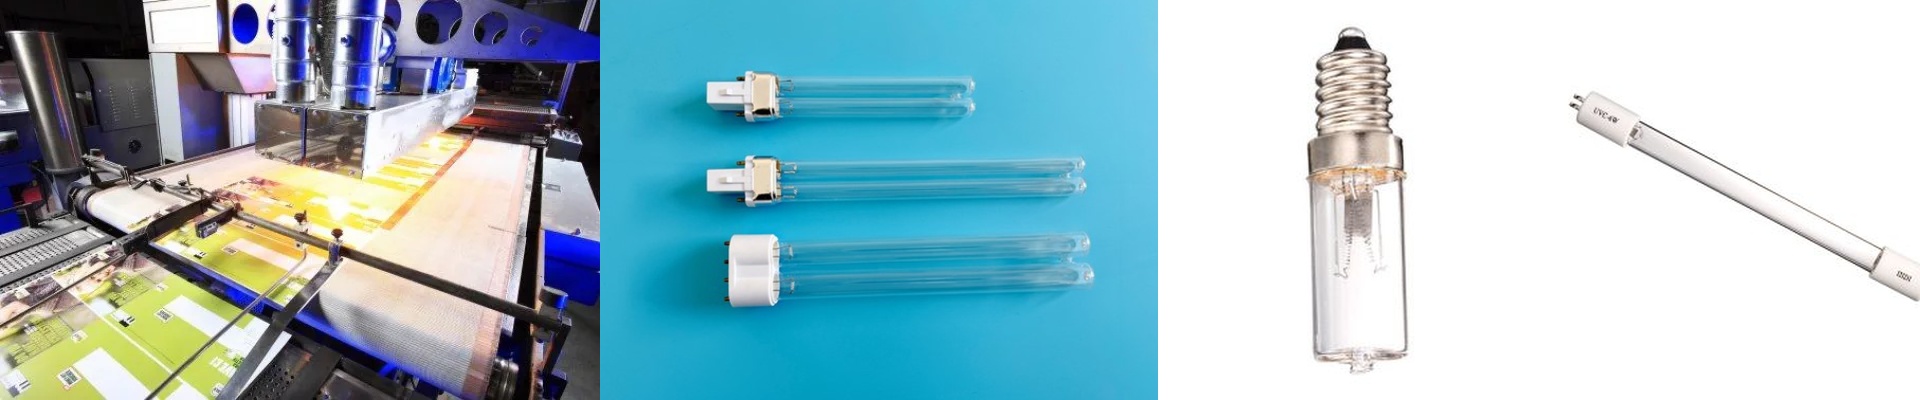
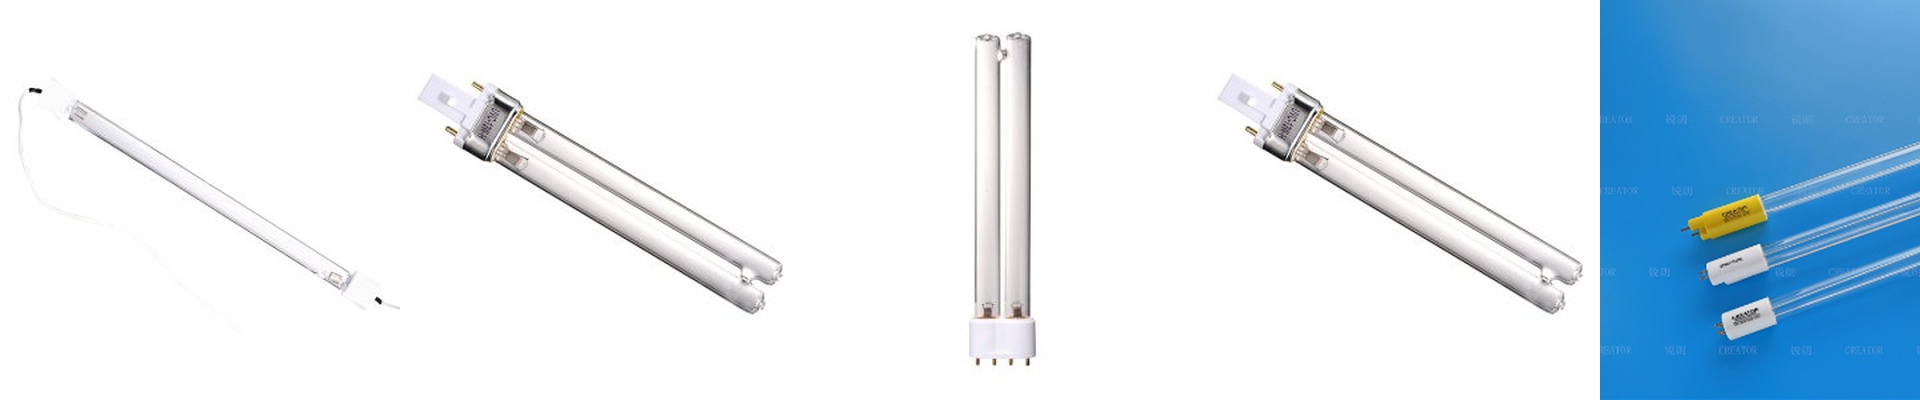
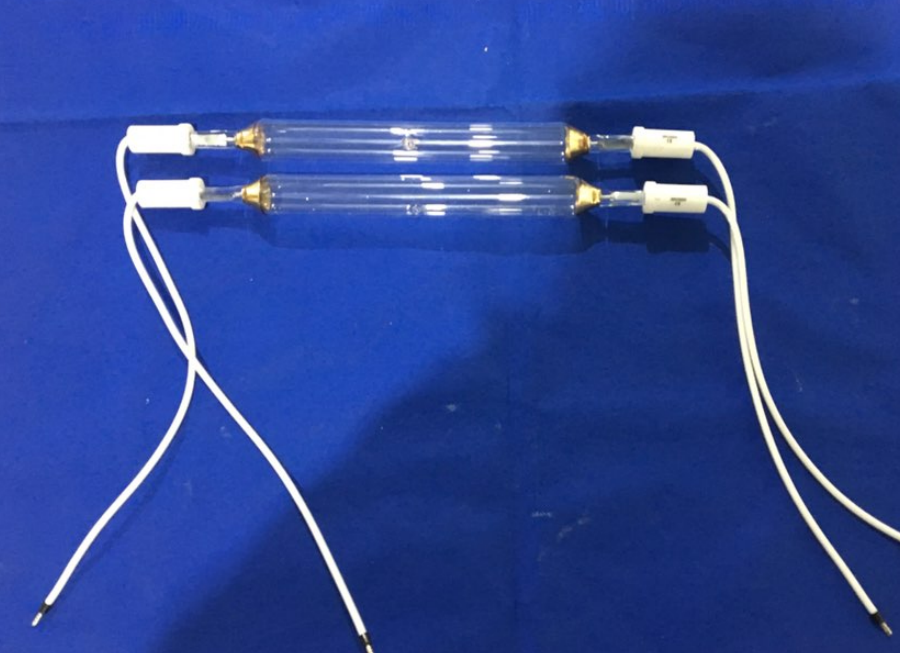
Replacing a UV lamp isn’t as simple as just popping in a new tube. If you’re doing high-end textile work, this is where the magic happens—or where things go wrong. This stage is what decides if your ink actually sticks to the fabric or if it ends up as a smeared mess during the next step. We built these smart replacements to hit that sweet spot. You get a steady, precise light that cures the ink completely, but without scorching your fabric. No one wants burnt fibers. The balancing act: Power vs. Heat Here’s the thing about wattage and voltage: more power usually means you can run your line faster. That sounds great, right? But there’s a catch. If you cram too much power into a small space, you’ll overheat your material. It’s a delicate balance. We’ve tuned the electrical load so the UV-C light triggers the chemical reaction in the ink, but keeps the heat low enough that your fabric stays exactly as it should be. Why the glass matters We use high-purity fused quartz for the lamp envelope. Why? Because cheap glass actually blocks the shortwave UV frequencies you need to get the job done. Our lamps are built to keep the light consistent from one end of the tube to the other. This means you won’t find any “soft spots” where the ink stays tacky and ruins the print. Swapping them out These are designed to be drop-in replacements. You can wire them straight into your current ballast without having to tear apart your power circuit. We also spent a lot of time on the contact points to make sure you don’t deal with any annoying arcing at the ends of the tube. One last tip: these lamps will definitely help your curing station last longer, but they aren’t magic.**Keep your reflectors clean.**If dust builds up on them, your efficiency will tank, no matter how good the lamp is.